
How CSS Works: Rules, Selectors, and Where to Put Them
What a CSS rule is made of, how the browser matches rules to elements, and inline vs style tag vs external stylesheet, explained with live demos.
 RazakTerra
- Reading time
- 11 min read
- Comments
- Discussion
On this page
If you followed the HTML path, you’ve already built real pages. They have headings, paragraphs, links, images and forms, and every one of them means something. They also look like a document from 1995: black serif text on white, blue underlined links, and not a single decision about how anything should look.
That’s not a flaw in your HTML. It’s the job split working exactly as intended. HTML says what each piece of content is. CSS says how it should look. And underneath that one-line description, there’s a small grammar to learn, a browser quietly checking every rule against every element on the page, and a choice about where your CSS should live that will decide how painful your next redesign is.
In this post we’ll build the whole picture from the ground up. Every section has a live demo, and the little pages inside them are real pages running real CSS, so anything you see there is exactly what a browser does. Poke at them. Break them. That’s what they’re for.
A stylesheet is a list of rules
Here’s the mental model that everything else in this path builds on: CSS is a list of rules, and every rule answers two questions: which elements? and what should they look like?
That’s it. There’s no program running from top to bottom, no variables to set up first. You hand the browser a list of rules, and it works out where each one applies.
Here’s one rule:
h1 {
color: tomato;
font-size: 40px;
}
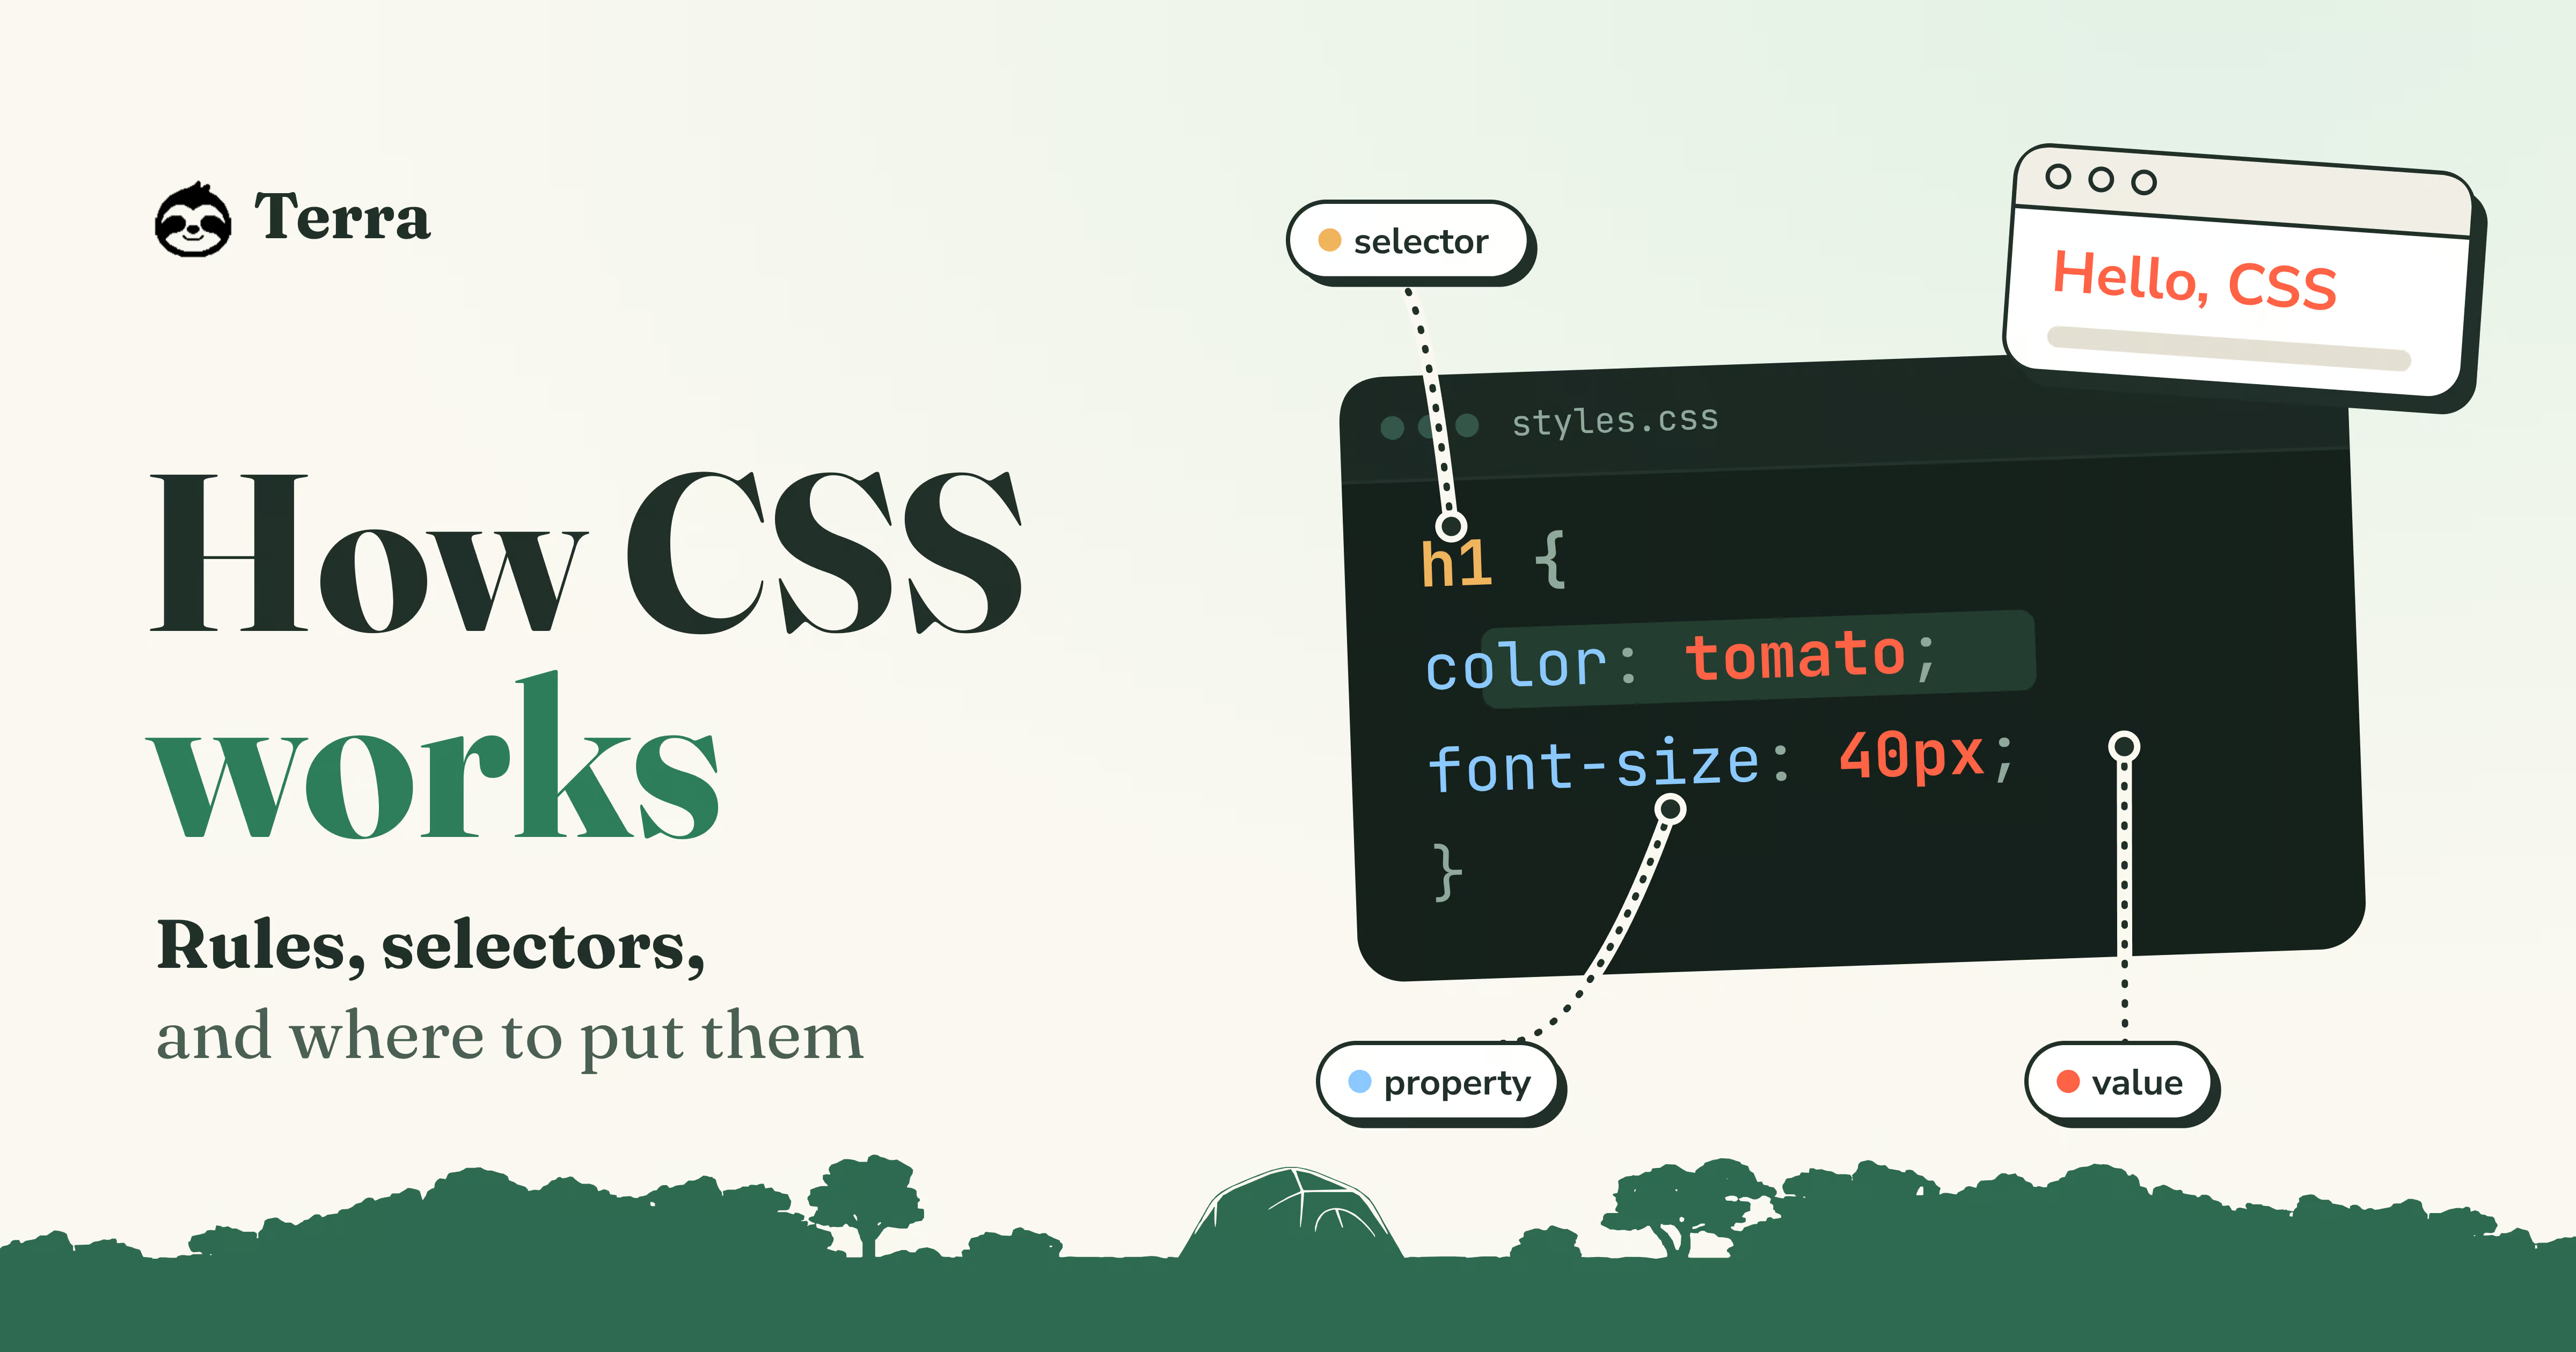
Read it out loud and it almost sounds like English: “for every h1, make the colour tomato and the font size 40 pixels.”
The anatomy of a rule
Every piece of that rule has a name, and you’ll hear those names constantly, in documentation, in error messages, and in your browser’s developer tools. Pick a part below to see where it sits. Then change the selector or the values, and watch the page follow.
Selector. Which elements the rule is for. A bare tag name like h1 means every <h1> on the page. The dashed outline in the preview shows what it picked.
A few things worth noticing while you play:
- Switch the selector from
h1topand the styles move. The declarations didn’t change at all. Only the answer to “which elements?” did. - The paragraph never gets styled while the selector says
h1. A rule only touches what its selector picks, nothing else. - The value has to suit the property.
colorwants a colour,font-sizewants a size. We’ll spend a whole post on units likepxlater in the path.
Small syntax, strict reader
Now press Delete a semicolon. Both styles disappear, even the font size, whose line you didn’t touch.
Here’s what happened. The semicolon is what ends a declaration. Without it, the browser keeps reading, and it ends up with this:
h1 {
color: tomato
font-size: 40px;
}As far as the browser is concerned, the value of color is now tomato font-size: 40px. That isn’t a colour, so it throws the whole declaration away and carries on. Your font size went down with it, because it had been swallowed into the broken value.
The last declaration in a block doesn’t strictly need its semicolon, since the closing brace ends it anyway. Write it every time regardless. The day you add another line underneath, you’ll be glad it’s already there.
How the browser uses your rules
So you’ve handed the browser a stylesheet with a few rules. What does it actually do with them?
Remember from the HTML path that the browser turns your markup into a tree of elements, the DOM. For each element in that tree, it goes through your rules and asks one question: does this selector pick me? Every rule that says yes gets its declarations applied.
Below is a stylesheet with five rules, the tree of a tiny page, and the page itself. Pick a rule to see which elements it selects. Then use the checkboxes to switch rules off, the same way you can in the browser’s developer tools.
- <body>
- <h1>
- <p>
- <a>
- <p class="note">
h1 selects 1 element.
Three things in there are worth slowing down for.
One rule can select many elements. The p rule lights up both paragraphs. You wrote line-height once, and it applies everywhere it’s needed. On a real site, a single p rule might style hundreds of paragraphs across dozens of pages.
Some styles flow downward. Pick the body rule. It only selects one element, yet the heading, the paragraphs and the link all switch to Georgia. That’s inheritance: some properties, mostly the ones about text like font-family and color, are passed down from an element to everything inside it. It’s why you can set the font for a whole site with one rule on body.
The page is never truly unstyled. Press Switch every rule off. The heading is still big and bold, the paragraphs still have space between them, and the link is still blue and underlined. None of that came from you. Every browser ships with its own default stylesheet, and your rules are layered on top of it. That’s why an h1 looks like a heading before you’ve written a single line of CSS.
When two rules disagree
You might be wondering what happens when two rules select the same element and set the same property to different values. Try this:
p {
color: navy;
}
p {
color: crimson;
}The paragraphs come out crimson. When two rules are equally specific, the one that comes later wins. That’s the “cascade” in Cascading Style Sheets, and there’s more to it than “last one wins”: a more specific selector beats a less specific one no matter where it sits. That’s a whole post of its own, a little later in this path. For now, “later wins” will get you a long way.
Where your CSS lives
So far we’ve looked at rules on their own. But a rule has to live somewhere for the browser to find it, and you have three options: on the element itself, in a <style> tag inside the page, or in a separate .css file.
All three work. The difference shows up the day you want to change something. Below is a tiny bakery website with two pages. Every colour in the source code is clickable. Your job: give every heading on the site a new colour. Try it in each of the three modes and count how many clicks it takes.
The heading colour is written in 4 places. Every heading matches, for now.
With inline styles, the colour is written four times, and it’s easy to miss one and end up with a site where the pages don’t match. With a <style> tag, it’s written once per page. With an external file, it’s written exactly once, and both pages follow. Now imagine the real thing: forty pages, a dozen headings each.
Let’s look at each option properly.
1. Inline styles
An inline style goes straight onto the element, in its style attribute:
<h2 style="color: tomato; font-size: 24px;">Fresh bread</h2>Notice that there’s no selector and no curly braces. The declarations apply to this one element and nothing else, so there’s no question of “which elements?” left to answer.
That’s also the problem. An inline style can’t be reused, so every element that should look the same needs its own copy. It mixes content and presentation back together, which is exactly what CSS was invented to separate. And it beats almost any rule in a stylesheet, which makes it hard to override later.
Inline styles do have a place. JavaScript often sets them for values that change as you interact with the page, like the position of something you’re dragging. But for styling a page by hand, reach for one of the other two.
2. The <style> tag
You can put rules in a <style> element, usually inside the <head>:
<!DOCTYPE html>
<html lang="en">
<head>
<meta charset="UTF-8">
<title>Fresh bread</title>
<style>
h2 {
color: tomato;
}
</style>
</head>
<body>
<h2>Fresh bread</h2>
<h2>Opening hours</h2>
</body>
</html>Now you have real rules with real selectors, so one rule styles every h2 on the page. That’s a big step up. It’s a good fit for a single-page experiment, an HTML email, or a demo like the ones in this post.
But the rules only exist on this page. The moment your site has a second page, you’ll be copying the <style> block across, and keeping the copies in sync by hand.
3. An external stylesheet
The third option moves the rules into their own file, and each page links to it with a <link> tag in the <head>:
h2 {
color: tomato;
}<!DOCTYPE html>
<html lang="en">
<head>
<meta charset="UTF-8">
<title>Fresh bread</title>
<link rel="stylesheet" href="styles.css">
</head>
<body>
<h2>Fresh bread</h2>
<h2>Opening hours</h2>
</body>
</html>Two attributes do the work. rel="stylesheet" tells the browser what kind of file this is, and href says where to find it, as a path relative to the page, just like a link or an image.
This is how almost every website is styled, for three good reasons:
- One place to change things. Every page that links the file gets every rule. A redesign is an edit to one file.
- Content and style stay apart. Your HTML files describe content. Your CSS file describes looks. Each one is easier to read on its own.
- It’s faster. The browser downloads
styles.cssonce and keeps it in its cache. When the visitor opens the next page, the styles are already there.
Choosing between them
Inline style="" |
<style> tag |
External .css file |
|
|---|---|---|---|
| Styles | One element | One page | Every page that links it |
| Reusable | No | Within the page | Across the whole site |
| Cached by the browser | No | No | Yes |
| Good for | Values set by JavaScript | Single pages, emails, demos | Almost everything |
Try it yourself
Here’s a small page with its own stylesheet, linked exactly the way we just saw. Change the colours, add a declaration, switch a selector, or delete a semicolon on purpose and watch what breaks.
<!DOCTYPE html>
<html lang="en">
<head>
  <meta charset="UTF-8">
  <title>Field notes</title>
  <link rel="stylesheet" href="styles.css">
</head>
<body>
  <h1>Field notes</h1>
  <p>Day three. The tide came in faster than the map said.</p>
  <p class="note">Note: pack a second pair of socks.</p>
</body>
</html>
You might have spotted .note in there, a selector that starts with a dot. That’s a class selector, and it picks elements by their class attribute instead of their tag name. It’s the first of many kinds of selector, and they’re what the next post is all about.
Wrapping up
Everything in CSS starts from the picture we drew at the beginning: a list of rules, each one asking which elements? and saying what should they look like? The browser walks the page, checks every element against every rule, layers the answers on top of its own defaults, and lets a few properties flow down to the elements inside.
Here’s what to take with you into the rest of the path:
- A rule is a selector plus a declaration block. Each declaration is
property: value;. - End every declaration with a semicolon, even the last one. A missing one silently drops styles.
- A selector can pick many elements, so you write a style once and reuse it everywhere.
- Text properties like
font-familyandcolorare inherited by the elements inside. - The browser has a default stylesheet. Your rules sit on top of it.
- When equal rules disagree, the later one wins.
- Put your CSS in an external file and link it from the
<head>of every page.
Next up: selectors. Tag names are only the start. You can pick elements by class, by id, by attribute, by their position in the tree, and even by what the reader is doing with them right now. See you there! 🎨
Written by
Razak
Writes about the web, slowly, and builds small tools on the side.
Keep reading
Read next
 10 min
CSS Specificity and the Cascade: Which Rule Wins?
Why isn't my CSS working? Learn how the cascade and specificity decide which rule wins, with a live demo that ranks every rule and explains each loss.
Read article 12 min
CSS Selectors: Every Way to Pick an Element
Type, class, id, attribute, combinators and pseudo-classes: learn how CSS selectors pick elements, with a live lab where you type your own.
Read article 9 min
Octoverse 2026: Commits Hit Record Highs as Developers Build with Agents
GitHub's Octoverse 2026 counted 34.3 billion commits and found that over 40% of pull requests now start as an agent's draft. Here is what the numbers mean, and what they mean for you as a developer.
Read article
Discussion
Comments
Loading comments…